Poultry farming is an increasingly popular venture due to its high demand and profitability. For beginners, setting up a layer battery cage system can be daunting but is essential for maximizing productivity and ensuring the well-being of the chickens. This guide will walk you through the layer battery cage setup method, providing step-by-step instructions to help you establish an efficient poultry farming operation.
Introduction
Starting a poultry farm involves several critical decisions, from choosing the right breed of chickens to selecting the appropriate housing system. The layer battery cage system is a modern solution that offers numerous advantages, including space efficiency, ease of management, and enhanced egg production. This article will guide you through the layer battery cage setup method for beginners in poultry farming, ensuring a smooth and successful installation.
Understanding Layer Battery Cages
Layer battery cages are designed to house layer chickens in a controlled environment, optimizing space utilization and facilitating easy management. There are two main types of layer battery cages: A-type and H-type chicken cage. Both types cater to different preferences and requirements of poultry farmers, offering benefits such as improved hygiene and better egg quality.

Step-by-Step Guide to Setting Up Layer Battery Cages
Step 1: Preparing the Site
Before installing the layer battery cages, it’s crucial to prepare the site properly:
- Clear the Area: Ensure the area is level, free from obstacles, and has adequate drainage to prevent water accumulation.
- Design Plan: Double-check the measurements and layout according to your design plan to ensure efficient space utilization.
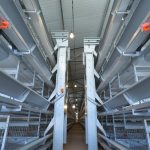
Step 2: Assembling the Cage Frames
The cage frames form the backbone of the layer battery cage system:
- Organize Components: Lay out all the cage components according to the manufacturer’s instructions.
- Assemble Frames: Connect the sides and secure them with bolts, ensuring the frames are aligned correctly and securely fastened.
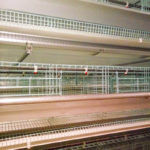
Step 3: Attaching the Cage Mesh
Proper attachment of the cage mesh is essential for the structural integrity of the system:
- Start from the Bottom: Carefully attach the cage mesh to the frame, starting from the bottom and working your way up.
- Secure the Mesh: Use zip ties or clips to secure the mesh to the frame, ensuring it is taut and free from sagging.
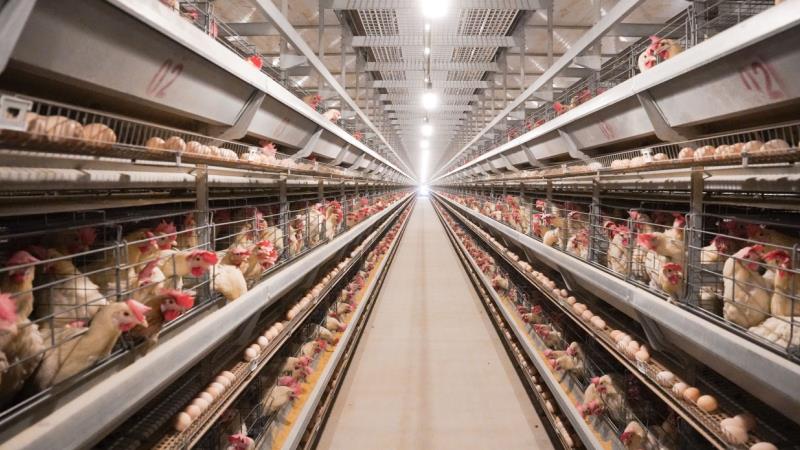
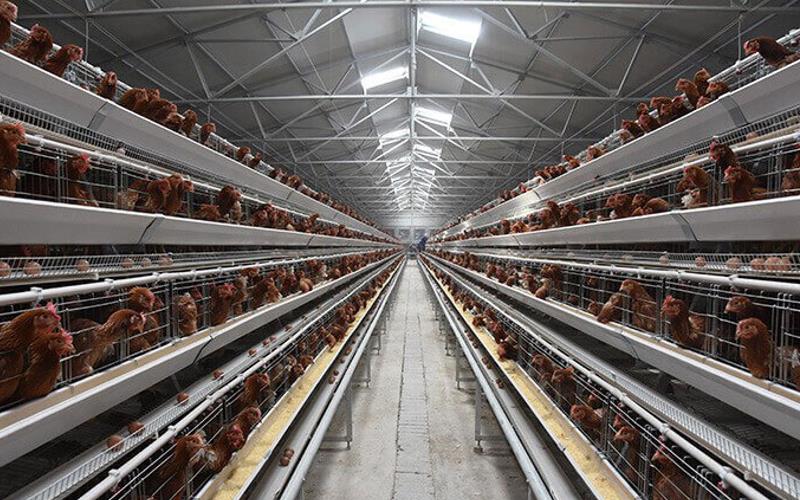
Step 4: Installing Cage Accessories
The functionality of the layer battery cage system depends on the proper installation of accessories:
- Feeding Troughs: Install feeding troughs according to the cage design, ensuring they are securely attached and properly aligned.
- Water Lines: Set up the water lines to provide fresh water continuously, ensuring each cage row has a sufficient number of water nipples.
- Egg Collection Trays: Attach egg collection trays to facilitate easy collection and minimize egg breakage.
Step 5: Securing the Cages in Place
Ensuring the cages are stable and secure is vital for the safety of the chickens:
- Anchor the Cages: Use anchor bolts or concrete anchors to secure the cages in place.
- Space and Align: Ensure the battery cage system is evenly spaced and aligned to allow for easy access and movement.
Step 6: Testing and Adjusting
Before introducing chickens to the system, perform thorough testing and adjustments:
- Test Accessories: Check the functionality of the feeding and watering systems, making any necessary adjustments to ensure optimal performance.
- Lighting and Ventilation: Install LED lighting and ventilation systems to maintain a conducive environment for the chickens.
Step 7: Regular Maintenance
Regular maintenance is crucial to ensure the longevity and efficiency of the layer battery cage system:
- Inspect for Damage: Regularly inspect the system for any signs of damage or wear.
- Clean and Sanitize: Maintain a hygienic environment by cleaning and sanitizing the cages regularly.
Advantages of Layer Battery Cages
Layer battery cages offer several advantages, making them a preferred choice for many poultry farmers:
- Space Efficiency: Maximize space utilization, allowing more chickens to be housed in a smaller area.
- Improved Hygiene: Easier to clean and maintain, reducing the risk of disease outbreaks.
- Enhanced Egg Quality: Eggs are collected more efficiently, minimizing breakage and contamination.
Conclusion
Setting up a layer battery cage system is a crucial step in establishing a successful poultry farm. By following this step-by-step guide, beginners can ensure a smooth installation process and create an environment that maximizes productivity and efficiency. Remember, regular maintenance and monitoring are essential to keep the system running optimally. Start your poultry farming journey today with confidence and watch your farm thrive.
For more detailed guidance and professional installation services, consider reaching out to reputable suppliers like Livi poultry equipment. Their expertise can help you achieve a seamless setup and operation of your layer battery cage system. Happy farming!